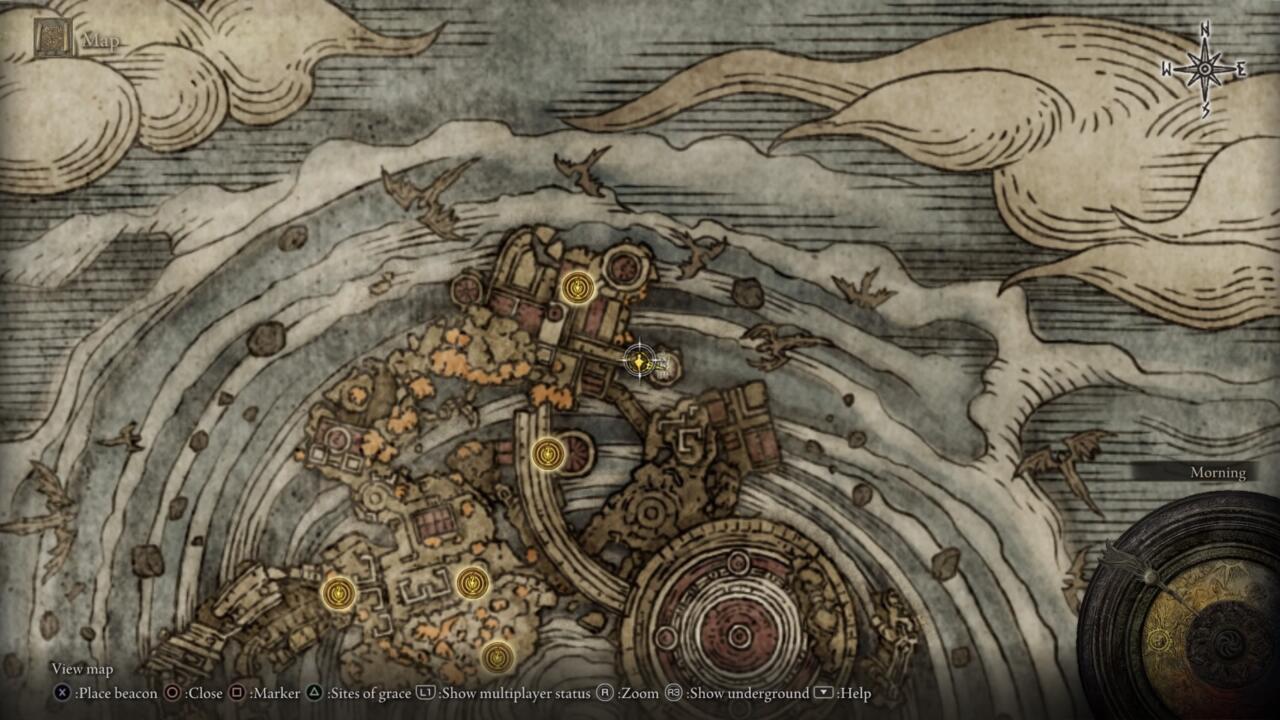
Crumbling Farum Azula is one of the most foreboding zones in all of Elden Ring, filled with deadly drops, dragons, and bloodthirsty Beastmen around every corner. It’s a tough journey, but clearing the area is the last step before you’re ready to take on the final bosses of the game back at Leyndell. Only one things stands in your way: Maliketh, the Black Blade.
Maliketh is a relentless foe whose two phases demand drastically different approaches. Luckily, if you know what to look out for–and go into the fight equipped with a few important items–you’ll come out victorious in no time.
Preparing for the fight
Unlike other late-game areas in Elden Ring, Crumbling Farum Azula is impossible to get to early (without the use of certain glitches, at least), so you should naturally be at a high level by the time you reach Maliketh. In any case, aim to be at least level 120 (ideally closer to 150 or so), with at least 40 points invested into Vigor. Get your weapon leveled up to the max, as well.
If you’re running a range-focused build, this fight is going to be a nightmare to take on solo. Maliketh can (and will) close the gap between you in the blink of an eye, and gives you very little room to breathe from start to finish. If you want to use a bow or cast spells from a distance, you’ll definitely want to bring along a Spirit Summon to distract him up close so you can attack from a safe distance. Something big and tanky, like Banished Knight Oleg or Lhutel the Headless, is your best bet.
If you plan on fighting Maliketh with a melee weapon, we highly recommend bringing along a shield. There are certain attacks during phase one of the fight that are unpredictable and extremely difficult to dodge, but can be blocked at little cost to your stamina. Any shield with 100% Physical damage reduction will work fine.
Lastly, there is one more thing you’ll want to be sure to bring along to the fight…
Blasphemous Claw
The Blasphemous Claw is a Tool with the sole purpose of aiding you in taking down Maliketh (more on how it actually works below).

Blasphemous Claw location
To find it, simply head up the stairs from the Beside the Great Bridge Site of Grace, then turn left on the bridge, away from the boss arena. Keep going forward, through the door and down the stairs, until you find yourself on a terrace. Go down the ladder to your right, and continue toward the tower with the chest inside ahead.
About halfway down the pathway, you’ll get invaded by Recusant Bernahl (assuming you’ve beaten Rykard and cleared out Volcano Manor). His attacks are fairly slow and easy to dodge, so you should be able to take him down without much trouble. Just look out for the large AoE of his weapon’s Devourer of Worlds Ash of War.

When he slams his weapon into the ground, be ready to dodge away from the shockwave.
Upon defeating Recusant Bernahl, he will drop the Blasphemous Claw, along with the the Beast Champion set and the Devourer’s Scepter. With the Blasphemous Claw equipped, you’re now ready to take on Maliketh.
How to beat Maliketh, the Black Blade
Maliketh is relentlessly aggressive in both phases, giving you very little time or space to recover. When you need to heal or refill FP, get behind one of the broken pillars in to protect you from his attacks. Just be ready to quickly re-lock on when he comes back into view.
Maliketh is highly resistant to all status effects and elemental damage. For melee builds, your best bet is to equip whatever weapon is capable of dealing the highest Physical Damage possible. High-Faith builds can use Lightning Spear to good effect. For Sorcerers, Rock Sling is a solid option, as always. Also consider using a sword spell, such a Carian Slicer, to punish him up close. Comet Azur is a viable option as well, though timing and positioning can be tricky. Make sure you bring a Spirit Summon along so you can safely set up your cast from a distance.
Phase one

When Maliketh slams both hands into the ground, get out of the way of the craters to avoid damage.
The boss starts the fight in the form of Beast Clergyman. As soon as you enter the arena, he will charge toward you. Run forward and get off the narrow bridge to avoid falling off.
Throughout the first phase, the Beast Clergyman will attack you with a dagger in various combinations of slashes and swipes. While this can be dodged, his combos are fast and unpredictable. The easiest strategy is to block these attacks with a good shield. By doing so, you can stay close and ready to counterattack.
He will also use the following Incantations throughout the first phase. There is a quick cooldown window after them, so try to dodge toward him to get in a hit or two after the spell resolves:
- Bestial Sling. He will dig his hand into the ground and throw small rocks at you. Sometimes he will do this from afar, other times he will end his dagger combos with the move. Simply dodge through.
- Stone of Gurranq. He will raise a boulder above his head and throw it at you. Dodge forward or to the side.
- Beast Claw. He will slam his hand into the ground and pull it out, sending five shockwaves at you. Do not dodge to the side! Instead, try to position yourself in between the waves, and roll forward at the last second.
- He will slam both fists into the ground, creating craters in the ground around him that shoot boulders into the air, which fall back down a couple seconds later in the same spot. Position yourself at a safe distance between the craters and stay put until the boulders come back down to avoid damage, or simply run away to avoid the AoE altogether. He will often follow up this move with a Bestial Sling or other attack, so be prepared to dodge after the spell resolves.
Phase two

As soon as the sword glows gold, be ready to parry his attack with the Blasphemous Claw.
At about half health, the Beast Clergyman will pull a huge sword out of his hand and become Maliketh, the Black Blade. Getting hit by his weapon not only deals massive damage on its own, but also both reduces your maximum HP and continues to drain your health over time, so avoiding it is imperative. This effect happens even through a shield, so you’ll want to switch to two-handing your weapon and dodge-roll your way through this phase rather than blocking.
Here are the most important attacks to look out for during phase two:
- Sword swipes. Maliketh will often start the phase by standing on his hind legs and swinging his sword at you, and will continue to do various slashes and swipes throughout the fight. These moves are relatively slow and easy to dodge, and can even often be avoid all together just by standing under him.
- Sword slam. He will flip into the air and land on his sword, digging it into the ground before flipping backward in an AoE blast. Simply dodge the slam and roll away to avoid damage.
- Destined Death. He will swing the sword in circles around himself, before slamming it into the ground in front of him, creating a huge cloud of slashing swords. This move is deadly if you get caught in it, but also quite exploitable. Roll through the initial sword swings, and get behind him before the AoE. You will be out of range here, and can get in some hits on his back while he’s exposed.
- Black Blade. Maliketh will jump from the pillars above and fire one to three red projectiles at you. Simply roll to the side right before they reach you. He will usually follow this up with a sword slam or other attack, so stay ready to dodge.
- Gold sword. This is the most important move to look out for, and is where the Blasphemous Claw will finally come in handy. At various points throughout the fight–often on the heels of the Black Blade attack–Maliketh’s sword will glow gold, indicating a heavy incoming attack. Right when he’s about to hit you with the gold sword, use the Blasphemous Claw. Doing so will parry his attack, leaving him highly vulnerable for about eight seconds. Use this opportunity to get in as much damage as possible. The timing is tricky, but getting it done can trivialize the fight.
Maliketh is an intimidating boss, but getting his health bar to zero takes less long than you’d think, especially with the Blasphemous Claw on hand. After defeating him, you’ll be rewarded with 220,000 runes and the Remembrance of the Black Black, which grants you access to his sword or the Black Blade Incantation. With him dead, you can now head to Leyndell, Ashen Capital to take on the final few bosses of the game.
Source: Gamespot


